
Autumn Lettering Design Tutorial and FREE Template
- Amanda Hermans

- Oct 9, 2021
- 4 min read
Updated: Nov 5, 2021
Fall is my favorite season of the year. We live in the Midwest, so it’s the time when we break out our fuzzy sweaters, visit apple orchards and pumpkin patches, sip hot cider and roast s’mores over campfires. Even the change of leaves is beautiful, the most picturesque representation of dying I’ve ever witnessed. Leave it to God to make even death lovely to behold. With all of these favorites, I thought it would be fun to put together a lettering design that can be used for your seasonal décor. Below is the tutorial, but if you just want the template, skip to the bottom here.
Here are the tools needed for this project:
· pencil and eraser
· transfer paper (optional)
· something to transfer onto (I chose a slice of wood that my husband cut)
· waterproof black marker or pen (sharpies are a great option)
· acrylic paint or markers in fall colors
· if using acrylic paint, you’ll also need paint brushes, water jar, and paper towel
· mod podge or acrylic sealer
I don’t have a lot in the way of seasonal décor since we try to live minimally, so this is my attempt at bringing a little autumn joy to greet friends at our front door.
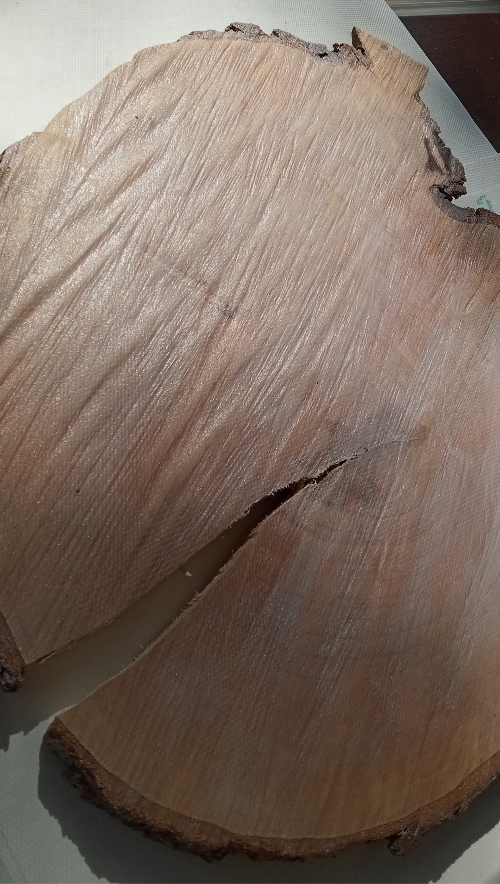
First, find something that you would like to draw the autumn design onto. This could be an old cutting board that you’d like to upcycle into décor. Or you could transfer the design onto a 9x12 canvas to make a nice gift. Even a serving platter would be a fun possibility. In a hurry? A quick choice would be to simply print the template onto art paper, add a frame and hang it as is. The possibilities are endless! I chose to apply the design to an old piece of odd shaped Maple that my husband sliced while splitting firewood. To me, it resembles a gigantic acorn!

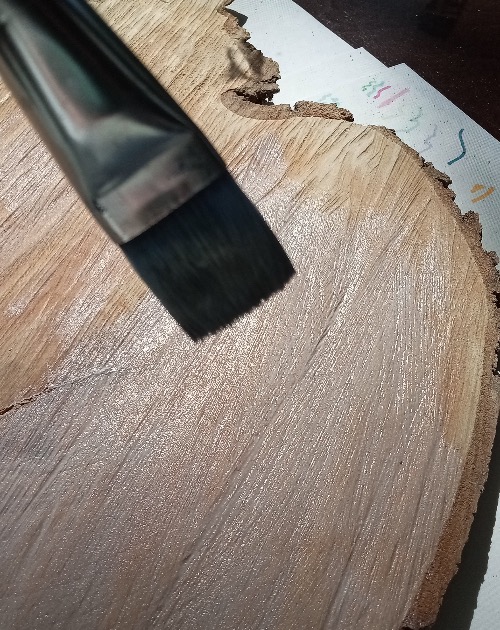
It was a bit rough, so I sanded down the ridges a bit to smooth the surface. I like the irregularity of the wood, so I didn’t rub it down completely. Then, after dusting it off with a brush, I applied a layer of clear gesso. This primes the wood so the ink doesn’t soak into the wood and feather into the grain. I would recommend this step for any piece of wood that you use, even if it’s store-bought.


Print the template and using transfer paper, apply the design to your art surface. If you’ve never used transfer paper before, it is super easy to use. Place the transfer paper with the carbon side facing your art surface. Then, place the template lettering side up on top of the transfer paper, being sure to center it exactly where you want it. Taping your paper in place will help to keep it from slipping. Then, very carefully, trace all of the lettering lines. The carbon does not erase easily, so take your time. You may want to use a blue or red pen so that you can see the lines you’ve already traced. If you are not sure, lift the edges or corners of the paper while still holding the rest of the paper in place. This way, in case you missed an area, you can easily put the paper back in place exactly where it was before.


Once you are satisfied with the transferred image, it’s time to go over those lines with a black marker. Again, carefully trace the lettering design.

If you are not adding color to your project then skip this next step.
Once the black outlines are set, apply acrylic paint or marker to areas desired. I wanted to add a pop of color to the fall accents and some of the lettering, so I chose colors that remind me of Autumn’s brilliant leaves: yellow, red, orange, and a touch of gold to add sparkle.

Once your design is completely dry, either spray it with a finishing sealer spray or paint a layer of mod podge. If you’re using sealer spray, be sure to apply it in a well ventilated room or outdoors. I like using either, it just depends on the look you are going for: mod podge provides a nice shine, while the sealant dries with a matte finish.
Warning: be sure to test out your sealer on a scrap of wood or whatever you are working with. I applied the mod podge to the marker area and that worked fine, but when I painted a layer over the colored areas, they began to bleed. So I decided to switch to sealing with spray for the colored areas first and then applying the mod podge afterwards. Well, I must have sprayed too closely and the black outlines started to bleed. It’s not terribly noticeable, but I wish I would have tested it first. But at least my mistake can be your wisdom.


After the sealer spray or mod podge have dried completely, it’s ready to display for the season. Please let me know if you try this project and how it went. I’d love to see what you’ve decorated and where it is displayed. Happy Fall!
Here is the free template for this design! Simply sign up to receive updates on tutorials and other news. Then, download and print for a fun, festive fall printable! Enjoy!


Comments